How To Replace A Showerhead
Yes! Changing out your showerhead can be a do it yourself job and we are going to help you do it.
Luckily, it’s pretty easy to replace a showerhead. Even if your current showerhead “works just fine”, upgrading is a job that can save you money on your energy and water bills. With an upgraded showerhead, you can cut your water use anywhere from 25 to 60% by using less less water, thus using less energy on hot water heating. Maybe it’s time to replace that water-hogging showerhead with a new model.
Is Your Showerhead Wasting Water?

If you’re still using a showerhead that you bought before 1992 — when all new models became low-flow — you could benefit from switching. Here’s a test to learn whether your showerhead is a water-hog:
- Place a bucket or other container that’s marked in gallon increments under your shower head.
- Turn on the shower at the level you usually use to bathe.
- Time how long it takes to fill the bucket with one gallon of water.
- If it takes less than 20 seconds to fill one gallon, consider switching to an updated low-flow showerhead, perhaps one from this decade.
Here’s How To Replace Your Showerhead:
- Turn off the shower faucets so you don’t get drenched while you’re working. There’s no need to turn off the water to the house.
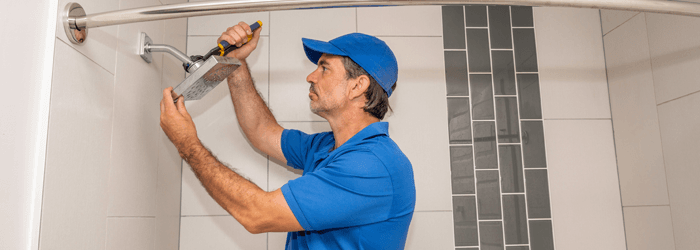
- Unscrew the old showerhead by twisting it by hand in a counterclockwise direction. Most heads aren’t screwed into place, but if yours is, remove the screws first.
- If it’s tough to remove because it’s old and corroded into place, you might need to use a wrench. Be sure to cover the jaws of the wrench with masking tape or place a soft cloth around the neck of the showerhead to prevent scuffs and scratches.
- Note: Even if you’re planning to throw the old showerhead away, you never know. If the new one doesn’t fit or is defective, you’ll have to put the old one back on.
- If it’s tough to remove because it’s old and corroded into place, you might need to use a wrench. Be sure to cover the jaws of the wrench with masking tape or place a soft cloth around the neck of the showerhead to prevent scuffs and scratches.
- Once you remove the old showerhead, you’ll see a threaded pipe in the wall. Clean the hard water buildup, gunk and dirt from around it and dry the threads.
- With plumber’s tape that you buy from a hardware store, wrap the threads in a clockwise direction. The tape will create a watertight seal between the new showerhead and the pipe, which will prevent leaks.
- Attach the new showerhead by screwing it clockwise into the taped, threaded pipe. Get it on there tight by hand.
- Turn on the hot and cold faucets and notice if the shower head is leaking. If it is, turn the water off and tighten it some more.
###
Homeowner Handbook | #Showerheads
PODCAST
Tune-In! Rosie shares a very important tip for replacing a showerhead. Yes, you can replace it yourself, but take caution before starting the project!