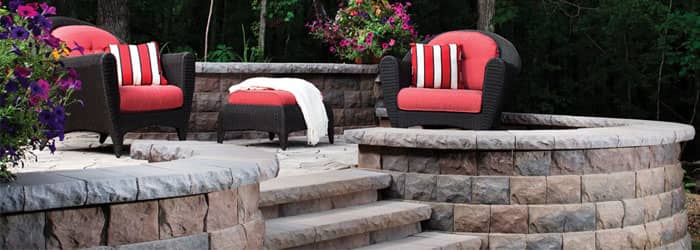
PAVER PROJECTS YOU CAN HANDLE YOURSELF
How about some outdoor do-it-yourself projects to get the yard ready for spring? Each of these can be done in just one day.
OK, we’ll admit that time estimate could be a bit optimistic. But here are three projects that require minimal work and materials that will probably only require a day of work or maybe a day and a half.
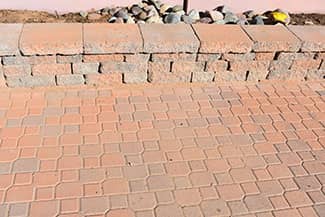
BUILD A RAISED GARDEN BED
Building a raised garden bed to grow tomatoes, green beans, kale and other favorites is a great springtime project. Raised beds for flowers and intriguing plants are another possibility. Or maybe you want to build a small herb garden.
Many garden lovers use wooden boards to frame raised beds, but we’d like to recommend concrete retaining wall block for this job since the blocks will be long-lasting and more attractive. Although using pavers for a walkway or patio requires a lot of advance preparation of the site, it’s much easier using them for low walls needed for a planting bed. You can also buy wall blocks that will blend well with your patio pavers.
You don’t have to do serious compaction of the site, though you do want to clear out loose soil, lawn, old plants or weeds in the spot for your bed. You also want the spot to be firm and level. If this is your very first veggie garden, keep it fairly small. Any bed should only be about four feet across so that you reach in from the edges to do weeding and harvesting easily once plants start growing.
You can use stakes and strings to measure the sides of your proposed garden bed, so you can estimate how many retaining wall blocks you might need. You should not need many because the walls of the bed can be two blocks tall at most. You don’t need adhesive to put between the layers of blocks, but you can do that if you want to. Fill the bed with good soil from a nursery or garden center or your composter; do not use our native soil to try to grow your vegetables or flowers or you’ll be very disappointed, unless you can spend a lot of time amending the soil. By the way, we like Farms Choice fertilizer or Mel’s Mix.
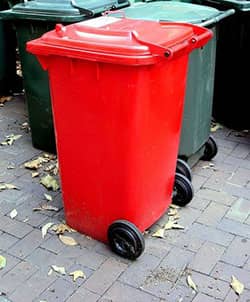
BUILD A PAD FOR YOUR TRASH CAN OR RECYLING CAN
Maybe your garbage can or trash can are sitting right now on a little patch of soil right inside your backyard fence. Probably that area is beginning to look a bit shabby. Well, it won’t take you much time or effort to prepare a small pad where those cans can sit.
You need to remove any grass, weeds or landscape rock from the area and level it out. Be sure to compact the soil after that with a hand tamp – no need to rent a compactor.
Then apply a layer of base (two inches thick) and hand compact that as well. Install an edging around the area – possibly rigid plastic or metal. Then spread a layer of paving sand over the top and place the pavers or patio stones. The edging will prevent pavers from shifting or moving
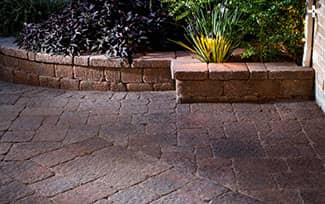
SPIFF UP YOUR PAVERS
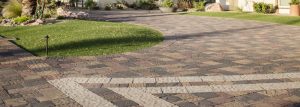
If you have landscaping pavers on paths or patios, it’s relatively easy to keep them in good shape. Most homeowners probably wash them off now and then with a hose and water and stiff broom. But after a few years, pavers may need more care and attention. Spring time is a great season to restore their natural beauty. This is a DIY job that should only take one day or perhaps a weekend.
We recently tried this cleaning process on a weathered paver driveway. The pavers had faded in the sun, and there were also some older spots where a turkey fryer had left deep oil stains.
We tried several products to get the job done. For general cleaning we used Borders Techniseal Pro Series. The series includes cleaner, sealer and spot removal. The cleaner did a wonderful job of restoring the look of the pavers to good as new.
The process is fairly easy. First sweep or blow all debris off the pavers. Next apply the cleaner with a spray pump. After soaking in for several minutes, sweep the pavers with a stiff broom and thoroughly rinse off. After application, use a large amount of water to rinse off the solution, according to Nathan Angel, Belgard sales manager.

Cautions:
- When using a power washer, keep the spray a safe distance from the pavers to avoid etching their surface or removing the sand between pavers.
- Read all directions and take care to protect surrounding plants and to keep pets away from the chemicals.
- Do a small test area first to see if you like the results.
We also tried Marvel’s Masonry Cleaner – an acid-free and certified green product. It worked well, but did not leave the paver colors looking quite as vivid.
For our spots we used Techniseal Professional Grade oil and grease remover for pavers. It goes on wet and dries to a powder, taking the stain with it. It worked like a champ on some fresh oil stains. The two-month-old oil stains did not come out. Those pavers will need to be replaced with new ones. The moral of the story is to catch stains sooner rather than later.
###
Photo Credits: