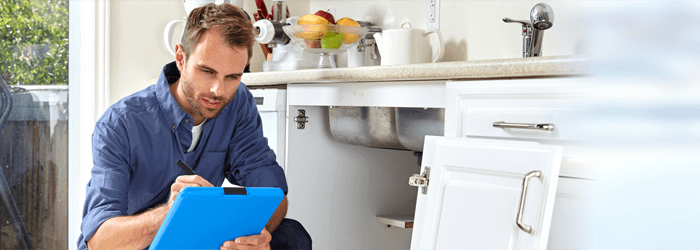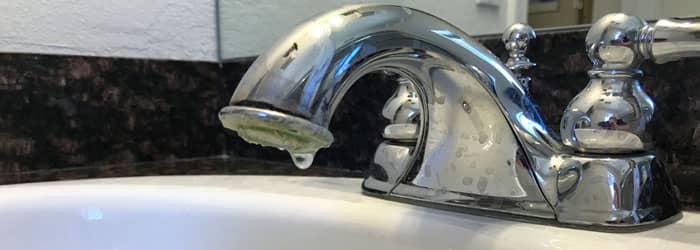
A leaky bathroom faucet is a real pain in the neck. You not only have the ceaseless drip, drip, drip driving you crazy, but it also wastes water and increase your bill. This makes the leaky faucet one of the most common service calls.
Most often a faucet internal parts are worn or damaged by Arizona’s high-calcium water causing it to leak. For you DIY’ers, however, as long as you are able to find the parts for your faucet (which isn’t always easy), repairing it can be a project you tackle. We’ve outlined the steps here for you:
1 | Which side is leaking?
The first step in this project is to determine if the leak is coming from the hot side, or the cold side, or even both. To do this, turn off the water supply lines one at a time, and test which one “stops” the leak.
Pro Tip: This only works if you have separate hot and cold handles. If you have a center, mixer-handle that will be the only part that is causing the leak.
2 | Remove the handles.
You’ll now be able to access the “inside parts” for replacement. This is a good time to clean those handles as well. Note: You may need to pry off the decorative caps to gain access to the screws.
3 | Determine Type of Valve or Cartridge You Have
If you have a two-handle faucet, this is likely a compression faucet and will have two internal compression valves or cartridges. If it is a center handle, it can be one of three types: ball faucet (with ball bearing); cartridge faucet; or ceramic disc faucet.
4 | Remove the Defective Part(s)
Depending on which of these faucets you have, you’ll remove the defective part or parts by unscrewing the retaining disk with an adjustable wrench or channel lock pliers. In some cases there is clip or pin that needs to be removed as well.
5 | Prepare the Area for the Replacement Part(s)
Once the part has been removed, make sure you replace any and all rubber seats and springs, o-rings, and/or rubber washers – and clean up any of the calcium or residue deposits inside.
6 | Put Everything Back Together
Re-install the new valve/cartridge and put all the parts back together.
7 | Turn on the Water
Turn the water back on being careful to watch for any leaks or dripping.
8 | Bleed the Air and Check the Water Flow
Turn the handle(s) on and allow all the air to purge from the lines. Once the air is gone, there should be a steady flow of water.
9 | Check for Leaks
Turn the handles off to check to ensure the drip has been fixed — re-check the supplyline connects below as well!
10 | Re-Check for Leaks
Continue to watch carefully, above and below, for any leaks and/or drips.
In some cases, these faucets and valves can be so corroded on the inside you may need to consider replacing the whole faucet set. If you do go that route, watch this video for tips on what to consider when purchasing a new faucet. Lastly, if you’re not a DIY’er – but have an annoying leaky faucet, be sure to call a reputable plumber who will help you remedy the situation.
###
MORE PLUMBING TIPS: